

How To Move The Camera In Blender
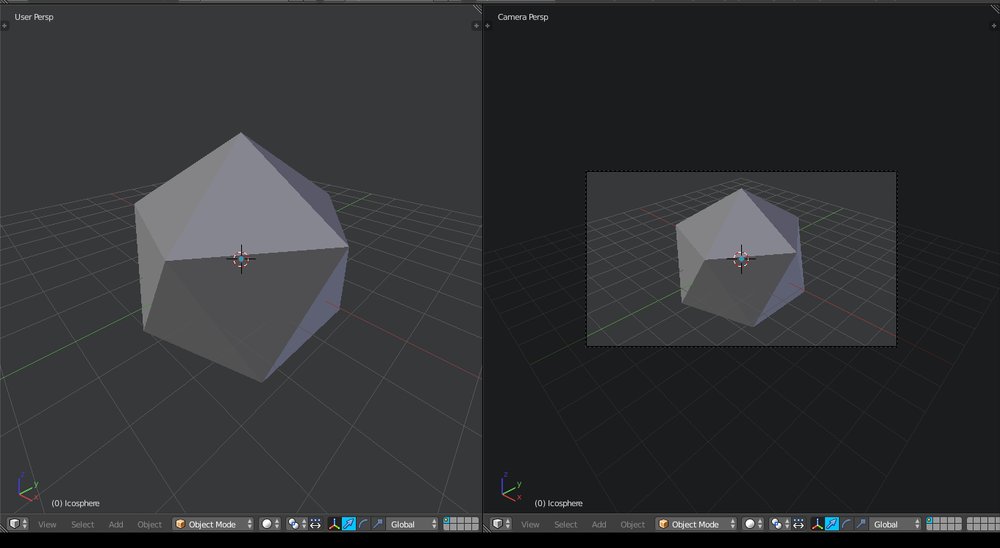
When working in Blender , you can become confused about the difference between the viewport and a camera object. It'south understandable, since the viewport can be thought of as a virtual camera, and a camera object can exist used equally a viewport. Here's what they are, and the differences between them:
- The viewport is the main view that the user sees when they start Blender (see above image). The viewport isn't an object; rather, it'due south similar a window that allows you to look around the scene that contains your model. It's part of the Blender interface and is only in that location for the development and viewing of the model. It doesn't serve whatever major purpose in rendering.
The camera is something that must be added to the scene, or created. Information technology's an object inside the scene and is responsible for rendering the image. Specifically, annihilation it's pointed at will exist office of the rendered epitome. Camera objects, however, are not designed to be moved as easily as the viewport and, therefore, are not suitable for development purposes. If you want to learn how to navigate your model and aren't interested in rendering an paradigm from it, a camera object isn't necessary.
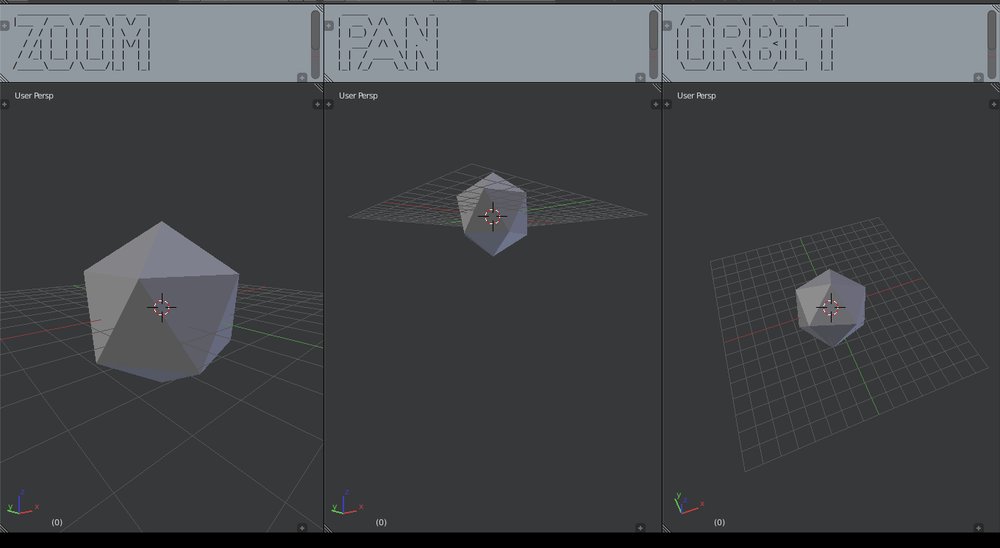
Note: This method of navigating works just with the viewport. Use a different method if you're looking to move a photographic camera. There are three main motions that one would use in the viewport: zoom, orbit, and pan. Zoom moves the viewport closer or further from the center of the scene. Orbit rotates the view around the center of the scene. Pan moves the entire scene beyond the viewport in any direction. Here's how to do each movement:
- Zoom: Just ringlet the mouse bicycle up or downwardly while the cursor is over the viewport. Alternatively, you could hold down Ctrl and the mouse wheel push while moving your cursor upwards or downwardly on the screen.
- Orbit: Hold downwardly the middle mouse push while moving your cursor around the viewport. Exist sure to start property down the middle mouse push while your cursor is inside the viewport.
- Pan: Hold downward Shift and the center mouse button while moving your mouse across the viewport. Just like orbiting, panning requires that your cursor be inside the viewport before you hold down the keys.
If you don't take a coil wheel or roll wheel push button, see the Blender manual for instructions on emulating the scroll wheel, also chosen the tertiary mouse button.
Annotation: Direct controls only work with a camera object, then don't endeavour to use them for the viewport. Though not the preferred method of moving a camera, information technology's nevertheless very useful.
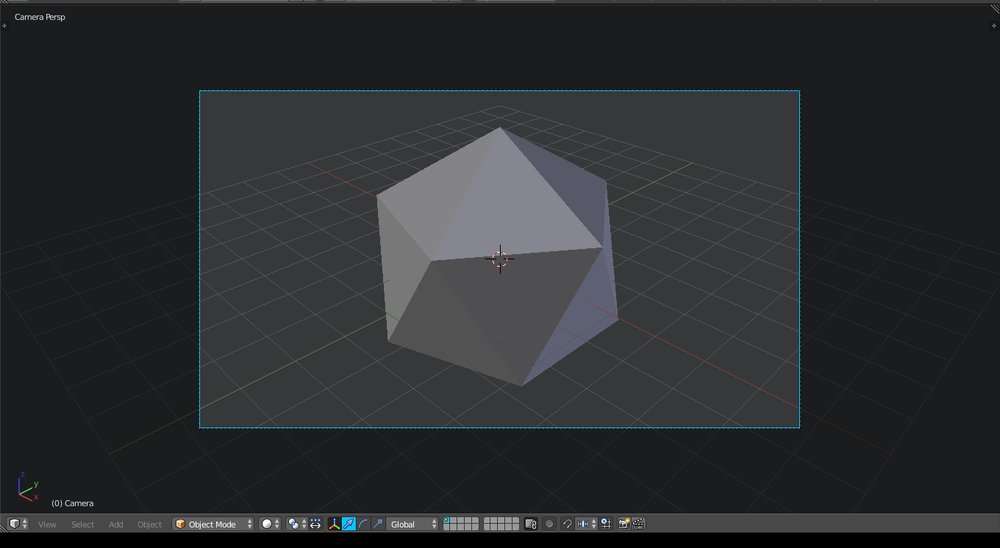
After selecting your camera by left-clicking on information technology, y'all can either interpret information technology or rotate it. Translating is the aforementioned as panning or zooming in the previous section. In other words, you can do both with the translate command. Rotating the camera tilts it in i direction, exist information technology clockwise or counterclockwise, upwards or downward, left or correct.
- Translate: Press 'G' while the camera'due south selected. Y'all tin now move your mouse cursor to pan the camera.
- To zoom, printing Ctrl and the mouse bike once simultaneously, and move the mouse to zoom in or out.
- To pan, but movement the mouse around later pressing 'Grand'.
- If you only want to pan in one centrality, press 'X', 'Y', or 'Z' on your keyboard to toggle axis locks.
- Rotate: Press 'R' while the camera'southward selected. Moving the mouse cursor rotates the view clockwise or counterclockwise.
- To turn the photographic camera left or right, press 'Z' and move the mouse cursor.
These movements are easier to make while in the photographic camera view. If you want to align the photographic camera to the current viewport view, you tin do so by pressing Ctrl + Alt + 0 on the number pad.
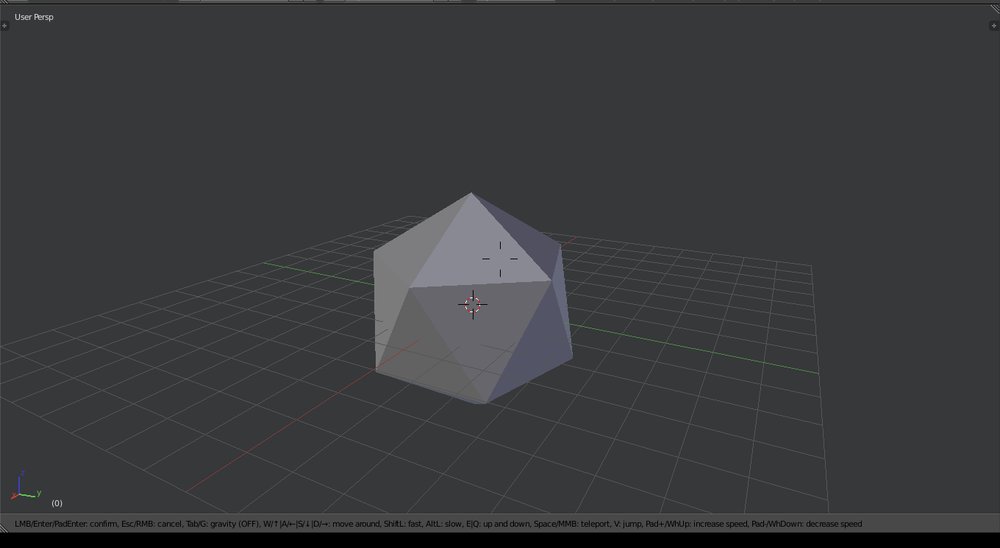
This is possibly the easiest way to move the camera or the viewport. The first-person view, known equally Walk Navigation in Blender , allows y'all to "move around" using the mouse to rotate and the keyboard to "step" forward, backward, side to side, upward, and down. These controls are like to those in many video games.
Note that if you are using Blender 2.8 or afterwards, the default shortcut to enter showtime-person view has changed from Shift + F to Shift + Grave primal (that is, Shift + `). If you want to modify it back, follow these simple steps:
- Go into the preferences located on the "Edit" menu at the top left of the screen.
- Select the "Keymap" section and on the name search, type "Fly".
- Click the default shortcut box.
If the speed at which the view moves isn't to your liking, y'all tin roll the mouse cycle upward to speed up or downwardly to slow down the rate of motility. Once you are done looking effectually, or y'all have gear up your view to your desired position, printing enter or left-click to get out the first person view. Your current viewport or camera view will be saved in one case you leave. It can then be moved using any of the other ii methods. Now you know how to navigate your scene in Blender, whether information technology's through a camera for a render or in the viewport so you can continue modeling at a new angle!
iRender is a Professional GPU-Dispatch Cloud Rendering Service provider in HPC optimization for rendering tasks, CGI, VFX with over 20.000 customers and being appreciated in many global rankings (e.chiliad. CGDirector, Lumion Official, Radarrender, InspirationTuts CAD, All3DP). We are proud that nosotros are 1 of the few render farms that support all software and all versions. Users volition remotely connect to our server, install their software only one fourth dimension and easily practise any intensive tasks like using their local computers. Blender users can easily cull their machine configuration from recommended system requirements to high-terminate options, which suit all your projection demands and volition speed up your rendering process many times.
High-end hardware configuration
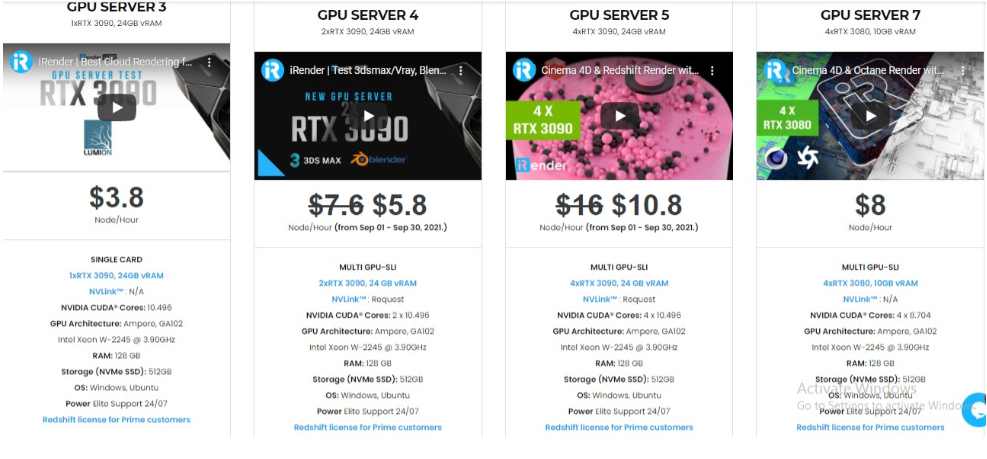
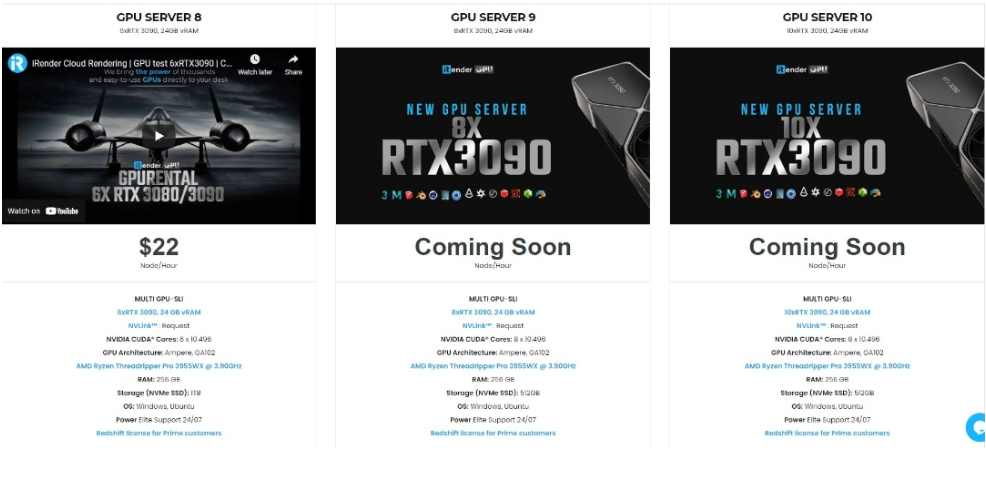
- Single and Multi-GPU servers: one/two/4/6x RTX 3090/3080/2080Ti. Especially, NVIDIA RTX 3090 – the most powerful graphic carte du jour.
- 10/24 GB vRAM capacity, plumbing fixtures to the heaviest images and scenes. NVLink/SLI requested for bigger vRAM.
- A RAM capacity of 128/256 GB.
- Storage (NVMe SSD): 512GB/1TB.
- Intel Xeon West-2245 or AMD Ryzen Threadripper Pro 3955WX CPU with a high clock speed of 3.90GHz.
- Additionally, iRender provide NVLink (Asking) will help you increment the amount of VRAM to 48GB. This is a engineering science co-developed by Nvidia and IBM with the aim of expanding the data bandwidth between the GPU and CPU v to 12 times faster than the PCI Express interface. These servers are certain to satisfy Blender artists/ studios with very circuitous and large scenes.
Let'south come across rendering tests with Blender on multi-GPU at iRender:
- Reasonable price
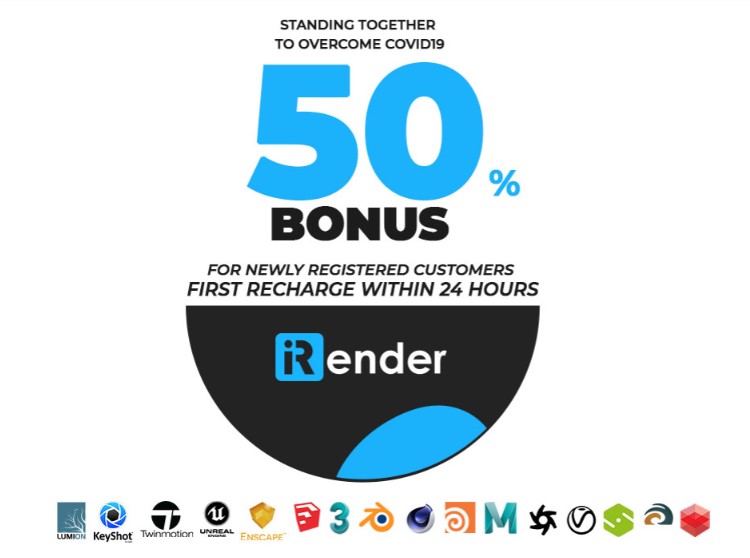
iRender provides high-end configuration at a reasonable price. You tin see that iRender's package always costs much cheaper than packages of other render farms (in performance/cost ratio). Moreover, iRender'south clients will savour many attractive promotions and discounts. For instance, this October, we offering a promotion for new users and discounted prices for many servers, users will accept advantage of these to level up their renders.
SPECIAL Offering for this Nov: Get fifty% BONUS for all newly registered users.
If you take any questions, delight practise not hesitate to achieve u.s.a. via Whatsapp: +(84) 916017116. Register an Account today and get Free COUPON to experience our service. Or contact the states via WhatsApp: + (84) 916017116 for advice and support.
Thank you & Happy Rendering!
Source: all3dp.com

Source: https://irendering.net/how-to-move-camera-in-blender/
Posted by: evansclaidecon.blogspot.com
0 Response to "How To Move The Camera In Blender"
Post a Comment